[Beginner's Guide/How To] How to make a rug by tufting to the exact size
(Updated August 10, 2024)
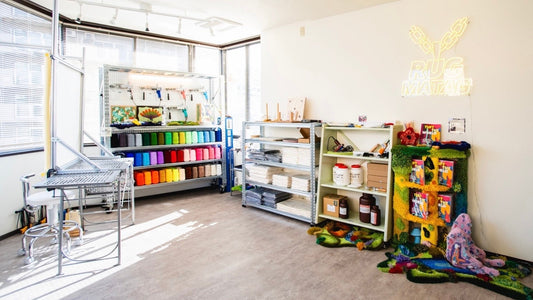
Hello. We are Tufting studio & shop RUGMATAG, a tufting workshop and equipment/materials specialist store in Morinomiya, Osaka .
This time, our manager, Chris, will be in charge!
Thank you to everyone who always reads my blog!
The other day, I explained and instructed our new staff member, Miura, on how to create a rug to fit perfectly using a block check design.
I have summarized the experience on my blog, so I hope it will be helpful for anyone who has trouble with tufting their pieces turning out to be larger than they expected!
This design

It is a 20x30cm block check design.
Each square is 5cm in size.
For comparison, the right half was typed neatly using the current knowledge, and the left half was typed after some instruction.
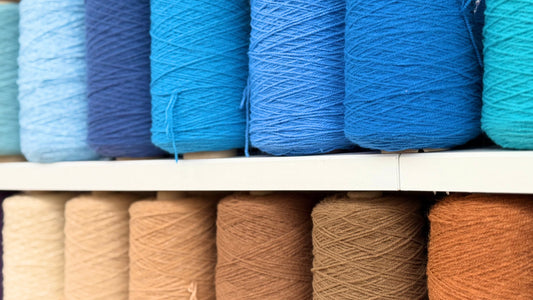
The yarn used is RUGMATAG WOOLYARN .
Before
First, I had them type in the white and purple as usual.
The stitching is done along the outlined lines, and the edges are stitched three times.
Here is the surface

The sizes of each square are uneven, and there are many places where the boundaries between colors blend together.
Miura: Looking at the striking surface, it seemed to me like it was struck nicely, but I was surprised that it turned out like this.
Although block check may look simple, it is actually a very difficult design for beginners.
However, once you get the hang of it you can make a beautiful piece, so be sure to follow the points below when making your own.
First, before explaining the points...

In order to produce a beautiful piece, the fabric is also very important!
Are you able to align the grain of the fabric properly when laying the base fabric?
Especially if the design mainly consists of straight lines, such as block checks, you should stretch the fabric more carefully than usual.
Now let's explain the key points.
Seven points to make the perfect size

Point 1
When making a draft, measure all sides.
- When making a draft on the fabric, when measuring the size, don't just one side, but all the sides. If the design is irregular, create a guideline and measure several points.

Point 2
Draw the construction lines straight along the grain of the fabric.
If the construction lines are distorted, the finished product will also be distorted. Make sure to draw the lines on the same grain of the fabric.
Point 3
Check the size twice: before and after writing.
Once you have finished drawing the outline, measure again to check the size.
You're all set!
We will actually start typing.

Point 4
Type a little inside the construction line.
If you cast it on the lines, the size will become too large, so make sure to cast it inside the lines.

Point 5
Draw the outline and then fill in the inside.
Be sure to draw the outline first before filling it in. Tufting should be done as if you were carefully coloring a picture.

Point 6
The number of hits per square must be the same
When you are edging and filling in the middle, count the number of pieces you are going to hammer in. If you hammer them in accurately, you will be able to hammer in the same number of pieces. It is also a good idea to prepare a square of the same size in the empty space and practice.

Point 7
After fitting, final size check
Before gluing, do a final check of the size and adjust it if it doesn't fit.
Here is what we saw when we asked them to keep these seven points in mind.
After

What do you think?
You can clearly see the boundaries between colors and the sizes of the squares are neatly uniform!
Miura: I had to be more conscious of inputting, but I quickly got used to it as I continued working!
Comparison
Back

surface

Finally, let's compare the sizes!

First, the first part I tried without any guidance was
It was 20.5 x 31 centimeters.
It turned out to be about 0.5 to 1 cm larger.

The next area we practiced after the instruction was
It was 20 x 30 cm, so we were able to make it exactly the right size!
summary
Here's how to make a rug to fit perfectly.
I hope I was able to convey that just paying attention to a few small details can make a difference in your work.
If you've read this far, please give it a try!
About new information notifications
Thank you for reading to the end. RUGMATAG plans to continue posting various articles about tufting. We plan to regularly announce the latest information on Instagram , Twitter , our official LINE account , and our email newsletter (see below). If you are interested, please follow us on social media, add us as a friend on our official LINE account, and subscribe to our email newsletter.