How to make a tufting frame
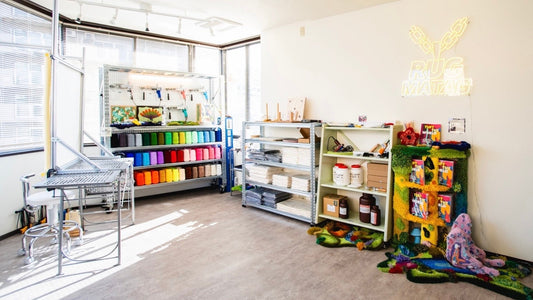
Hello. We are Tufting studio & shop RUGMATAG, which runs a tufting workshop and a store specializing in equipment and materials in Morinomiya, Osaka . This time, we have put together a guide on how to make a tufting frame.
There are many different ways to make a tufting frame, but this time we will introduce how to make a compact-sized tufting frame that can be easily made without an electric screwdriver and is recommended for beginners and those with limited work space, for those who want to reduce the effort required as much as possible.

Materials & Tools Required for Tufting Frame
First, we will introduce the materials and tools required to make a tufting frame. Please look for them at your local hardware store.
- Wood (this time, we used whitewood studs, approximately 27 x 90 x 2985 mm, cut into two 700 mm pieces and two 546 mm pieces)
- Carpet gripper (cut to fit 2 x 600mm sides, 2 x 546mm sides)
- Screws (standard 3.8 x 75)
- Round nail (19mm)
- 2 eyelets
- A Phillips head screwdriver (or power screwdriver)
- Kiri (not shown in the picture)
- Saw (not shown)
- hammer
*Carpet grippers are often not sold at hardware stores. They are sold individually in our physical store, and can be purchased as a set of 12 x 30cm in our online shop.


How to choose wood
This time, I chose white wood studs that are 27mm thick to attach a carpet gripper that is about 25mm wide. When choosing wood at a home improvement store, it is important to choose a product that is as straight and free of distortion as possible.
Large home improvement stores will cut wood for you for a fee, so take advantage of this service to save time.


How to make it
① Make a mark to screw in the screw.

② Drill pilot holes and screw in the screws with a screwdriver.


3) Cut the carpet gripper to the appropriate length and hammer it down.


④ Hammer the round nail into the part where there are not enough nails.

⑤ Attach the eye bolt to the protruding part on the upper left side of the frame.

Why use a carpet gripper?
One method is to make a frame by driving in mating nails or panel pins to stretch the fabric, but using a carpet gripper is easier and faster, so it is recommended for DIY beginners.
We are selling them individually in our store! Also available online !
About size
This time, I made a 60cm x 60cm rug for beginners. The maximum size of the rug you can make is about 45cm x 45cm, depending on the thickness of the wood you use. I recommend choosing a frame size that can be divided into the tufting cloth you purchase!
example)
The size of the tufting cloth required for a 60cm x 60cm frame is about 66cm x 66cm, which is larger than the frame size. Nine of the 2m x 2m tufting cloths sold in our store can be used.
Once the tufting cloth is stretched, the work inside the cloth needs to be completed, so start by making a few rugs on a small frame to get a feel for the process of rug making.

Notes on creation
We recommend that two people work together to create the tufting frame. Please be careful when working with the frame to avoid injury.
Arrangement
It will be more stable if you make the top and bottom pieces a little longer. Also, if you are making a larger frame, try reinforcing it with L-shaped metal brackets to make it more durable.

summary
This time, we introduced how to make a tufting frame. Feel free to make it in any size that suits the rug you want to make. Make lots of them to create the best rug possible.
Please also see this article for information on how to install a tufting frame.
Related article: How to install a tufting frame

About new information notifications
Thank you for reading to the end. RUGMATAG plans to continue posting various articles about tufting. We plan to regularly announce the latest information on Instagram , Twitter , our official LINE account , and our email newsletter (see below). If you are interested, please follow us on social media, add us as a friend on our official LINE account, and subscribe to our email newsletter.